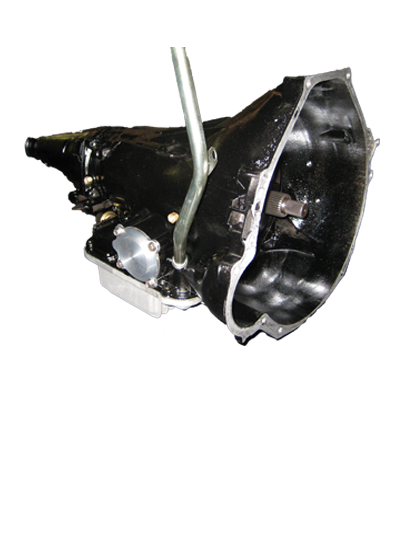
Extreme C6 Transmission Build Up
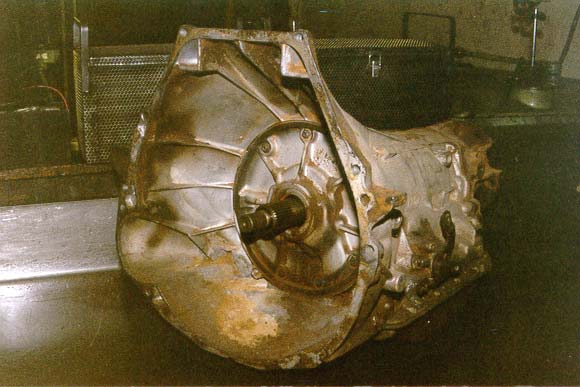 This is what the C6 Transmission looks like before we start to dismantle the unit and prepare it for the wash. The whole process from this stage to the final coat of paint will take three days while a standard unit can be built in one day.
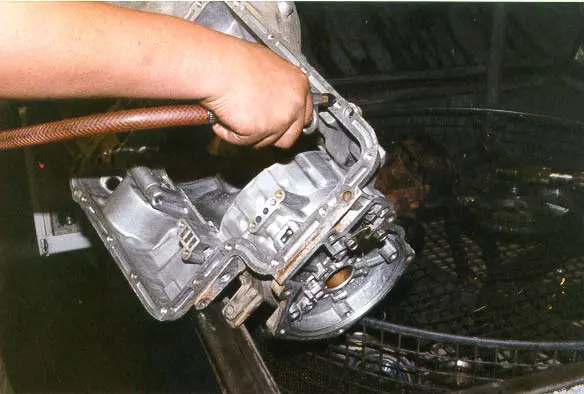 This photo shows the large one piece case coming out of the hot wash and being blown down before being taken to the rebuild room for inspection.
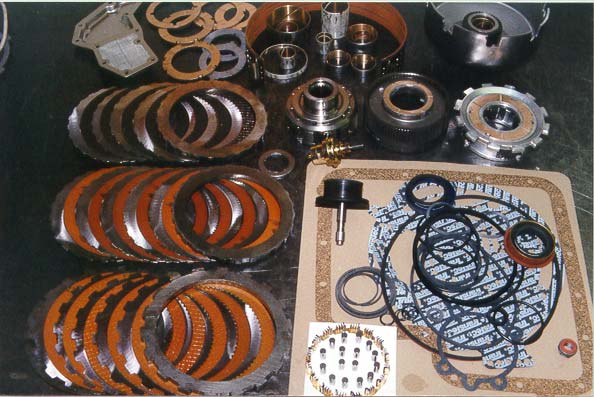 This shot above shows almost everything that is used to build the EXTREME C6 with only the convertor missing. As you can appreciate we tend not to itemise the exact contents of our kits.
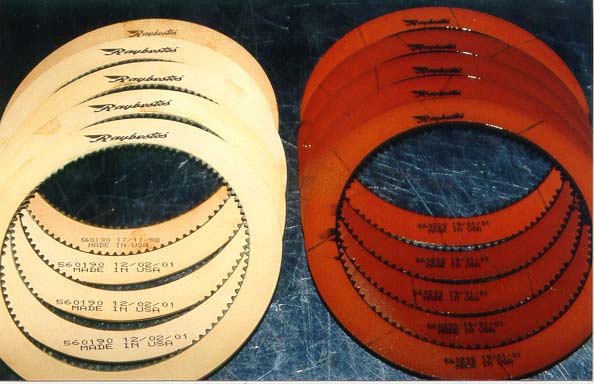 From left to right we have a brand new set of C6 standard frictions and on the right is the treated heavy duty set of frictions that are only used in the EXTREME transmissions.
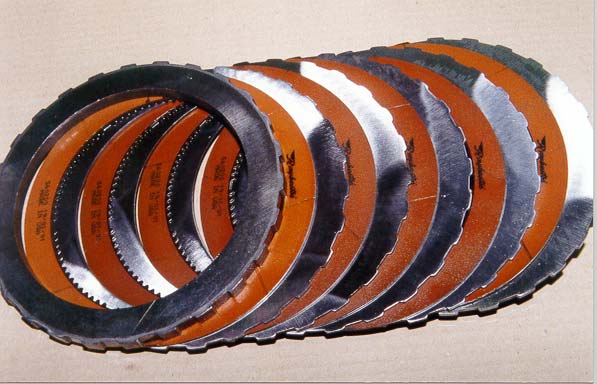 This is the new look 5 friction forward clutch pack replacing the standard 3 or 4 friction clutch packs with new radial ground steel plates and heavy duty frictions.
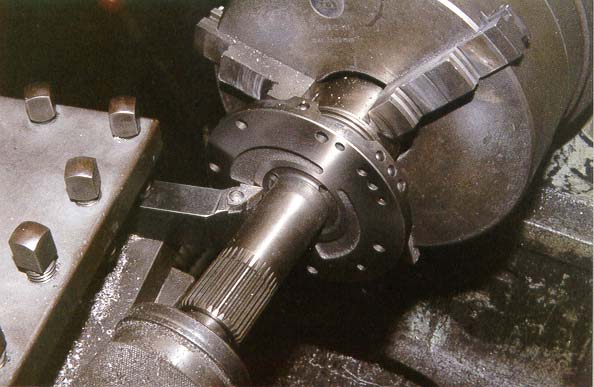 As with all of our Extreme transmissions particular attention is paid to the front surface of the pump ensuring that it is not only perfectly flat but machined 90 degrees to the alignment of the pump.
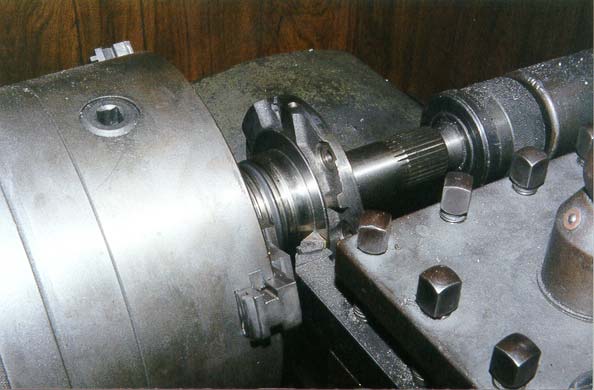 When machining the front pump surface the rear thrust surface must also be machined for perfect alignment, this must be done without removing the rear pump half from the lathe.
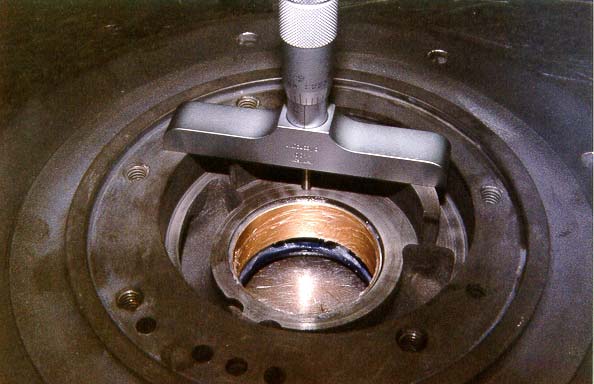 After cleaning the front pump half and installing the new pump bush and seal the depth of the gear crescent is measured and checked against pump gears.
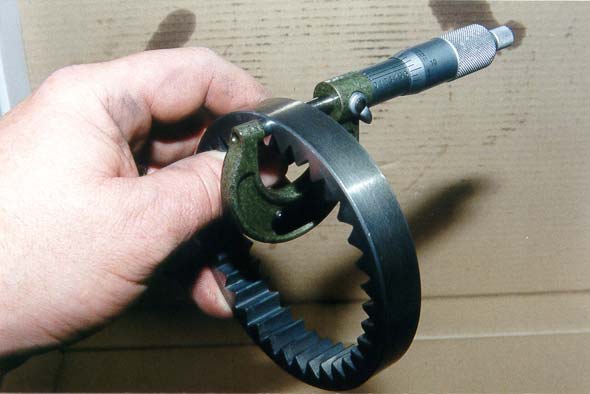 The width of both the inner and outer pump gears are checked for tolerance after being wet blocked flat.
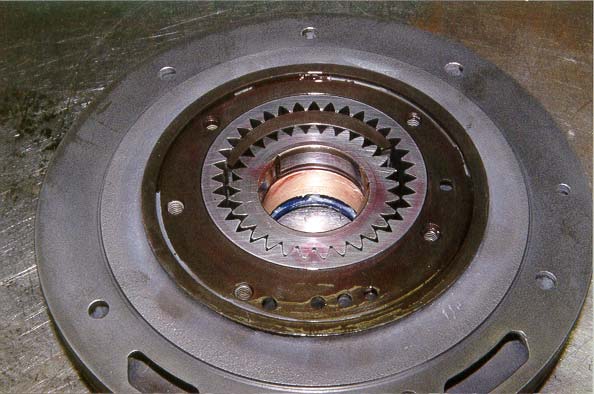 The front pump half is assembled and double checked.
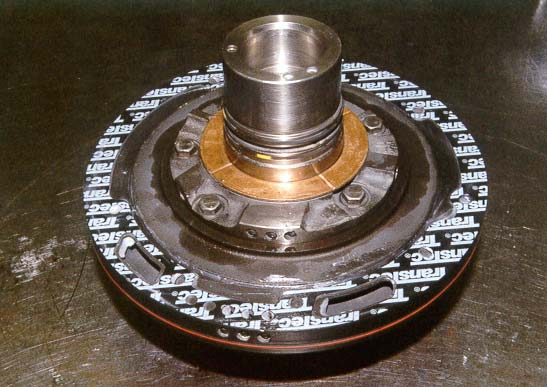 The complete pump assembly with new bushes, end float thrust, direct drum rings, pump gasket and outer pump D`ring. End float thrust will no doubt be changed during case assembly.
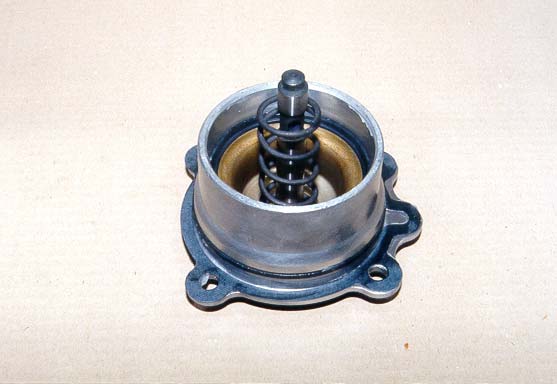 Complete servo assembly with new servo piston, Gasket and outer seal.
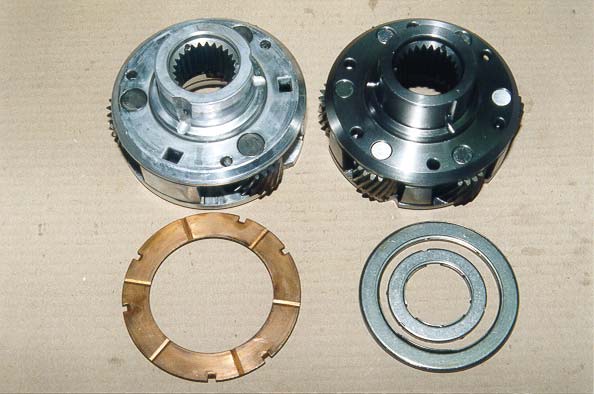 On the left the standard ratio 3 pin aluminium front planetary with standard thrust and on the right the optional 6 pin heavy duty steel planetary with needle roller bearings that will give you a much lower first and second gear ratio.
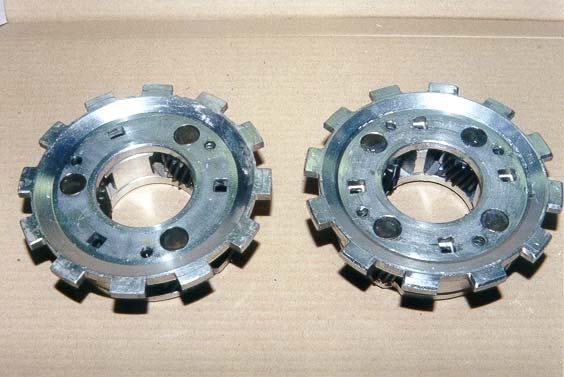 On the left is the standard 3 pin rear planetary and on the right the heavy duty 4 pin planetary.
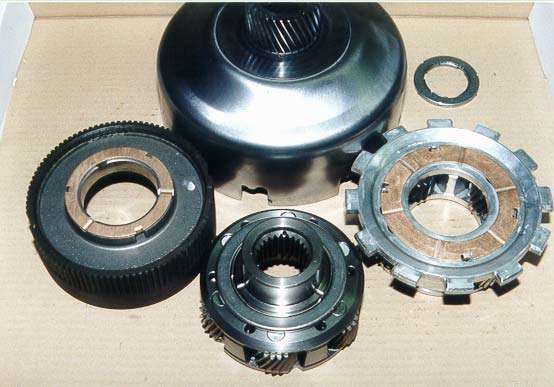 This photo shows the complete optional low gear drive line components and 4 pin rear planetary.
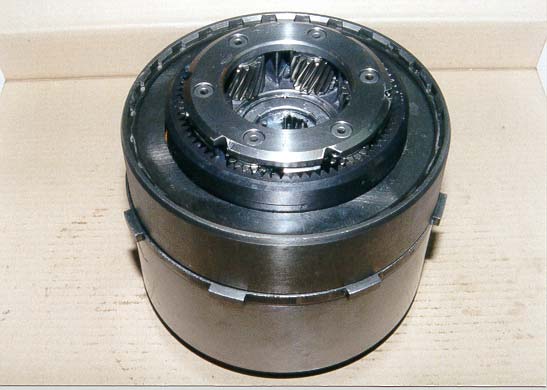 This shot shows the front drive line sub assembly before being assembled into the case.
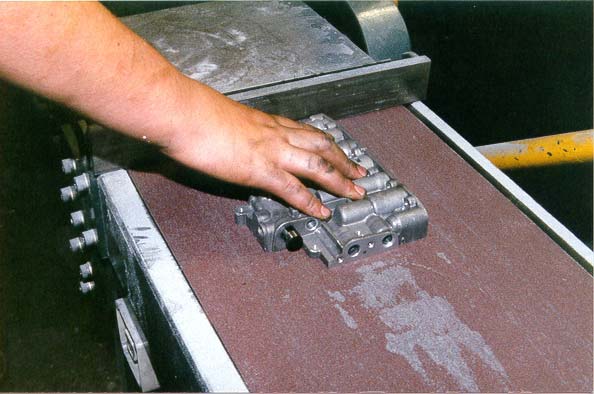 Machining both valve body halves flat is possibly not one of the most important tasks that we undertake with the EXTREME transmissions but it is certainly part of the Blue Printing process that is undertaken.
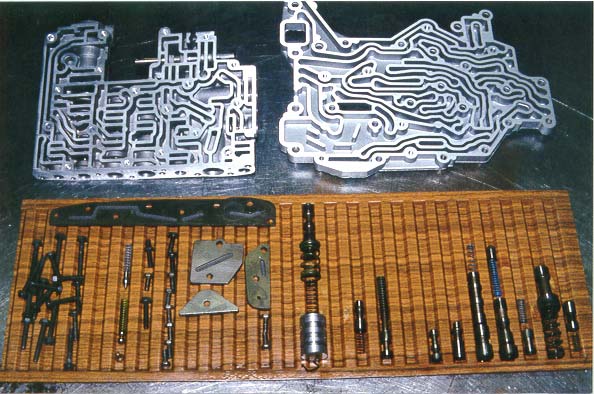 This photo basically shows the valve body after it has been completely stripped down and made ready for the machine work and valve body updates that are added to bring the unit up to scratch.
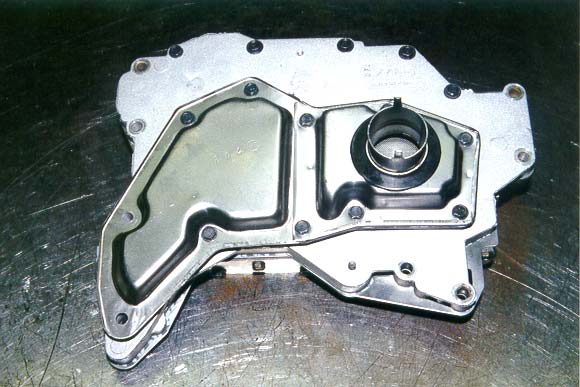 C6 Extreme heavy duty valve body assembly complete with new filter. During the assembly of the valve body you get to choose your desired shift firmness and we simply build it in.
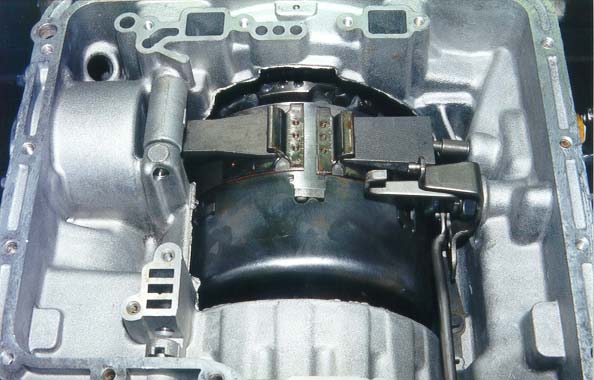 With the main case assembly finally complete after disassembling and reassembling for the umpteenth time to get the end float exactly right.
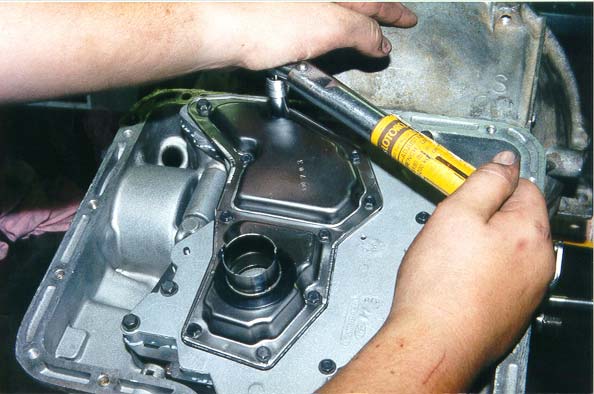 The valve body go`s on and where almost done but even this has to be done right.
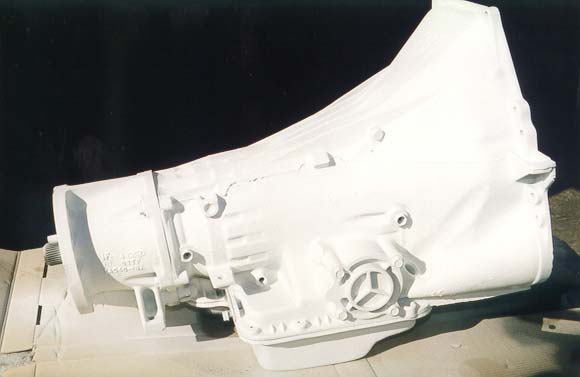 With the transmission assembly now complete we enamel coat the transmission before the top coat is added.
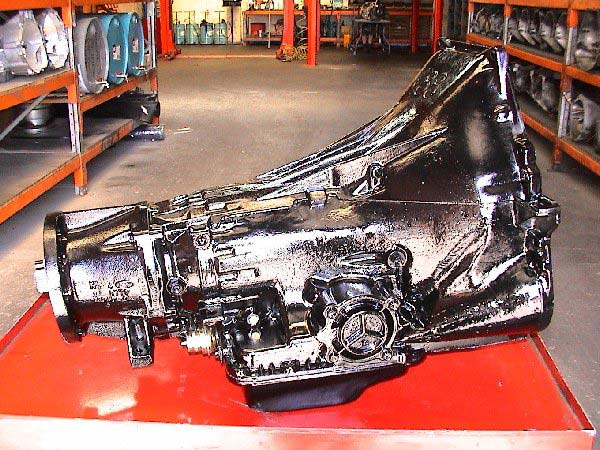 The final product has taken a total of three days to build and another day to paint but the Extreme C6 transmission is now complete. This is when you know you got what you paid for.

